Drilled crotch belt brackets
July 31, 2014 – I broke out the kit for the crotch belt brackets and did those next.
I removed the two seat ribs on the pilot’s side from the center assembly, then I dug out the seat pans.
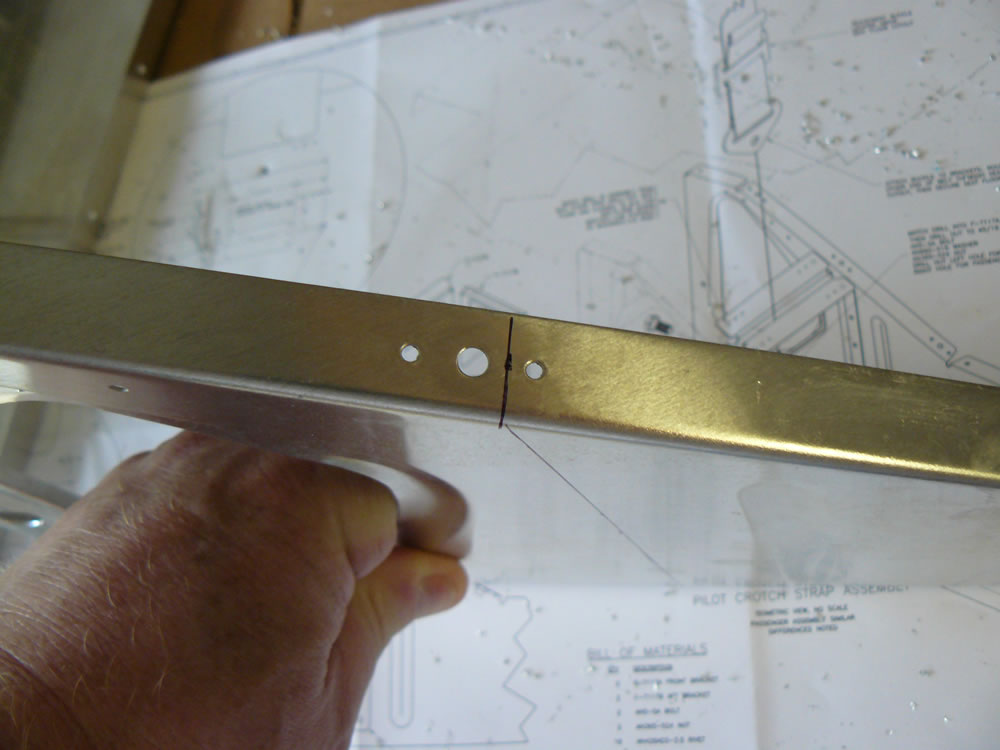
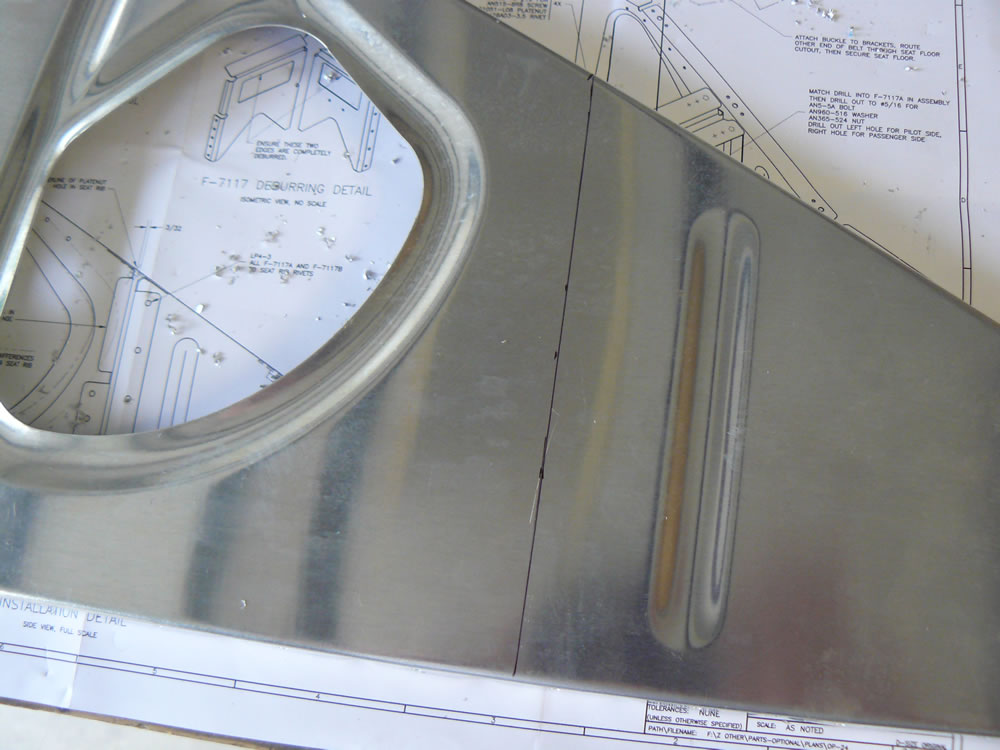
I started by drawing a line 3/32″ from the center screw hole, and extended that line down the side of one of the ribs. The plans mention that this line will be parallel to the bead in the rib. After measuring out this one, I discovered that the line would be square to the bottom of the rib and 1″ from the edge of that bead. I ended up measuring everything out on each rib, but this dimension held true in all four cases.
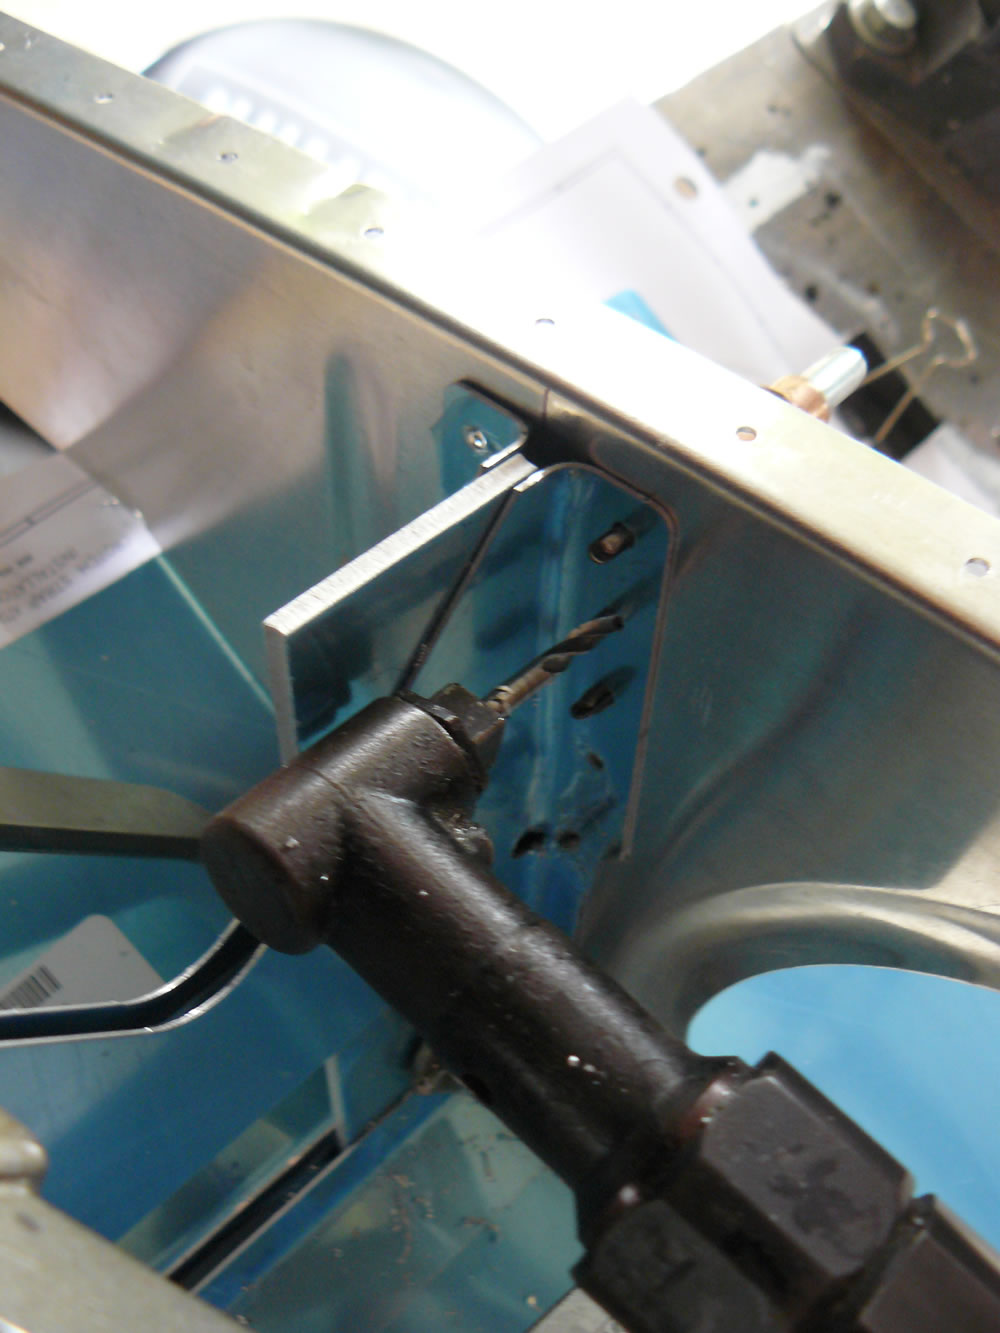
I clecoed the seat pan to a rib, then clamped the aft bracket in place to the drawn line. I used the seat pan to make sure the top of the bracket was flush to the seat pan.

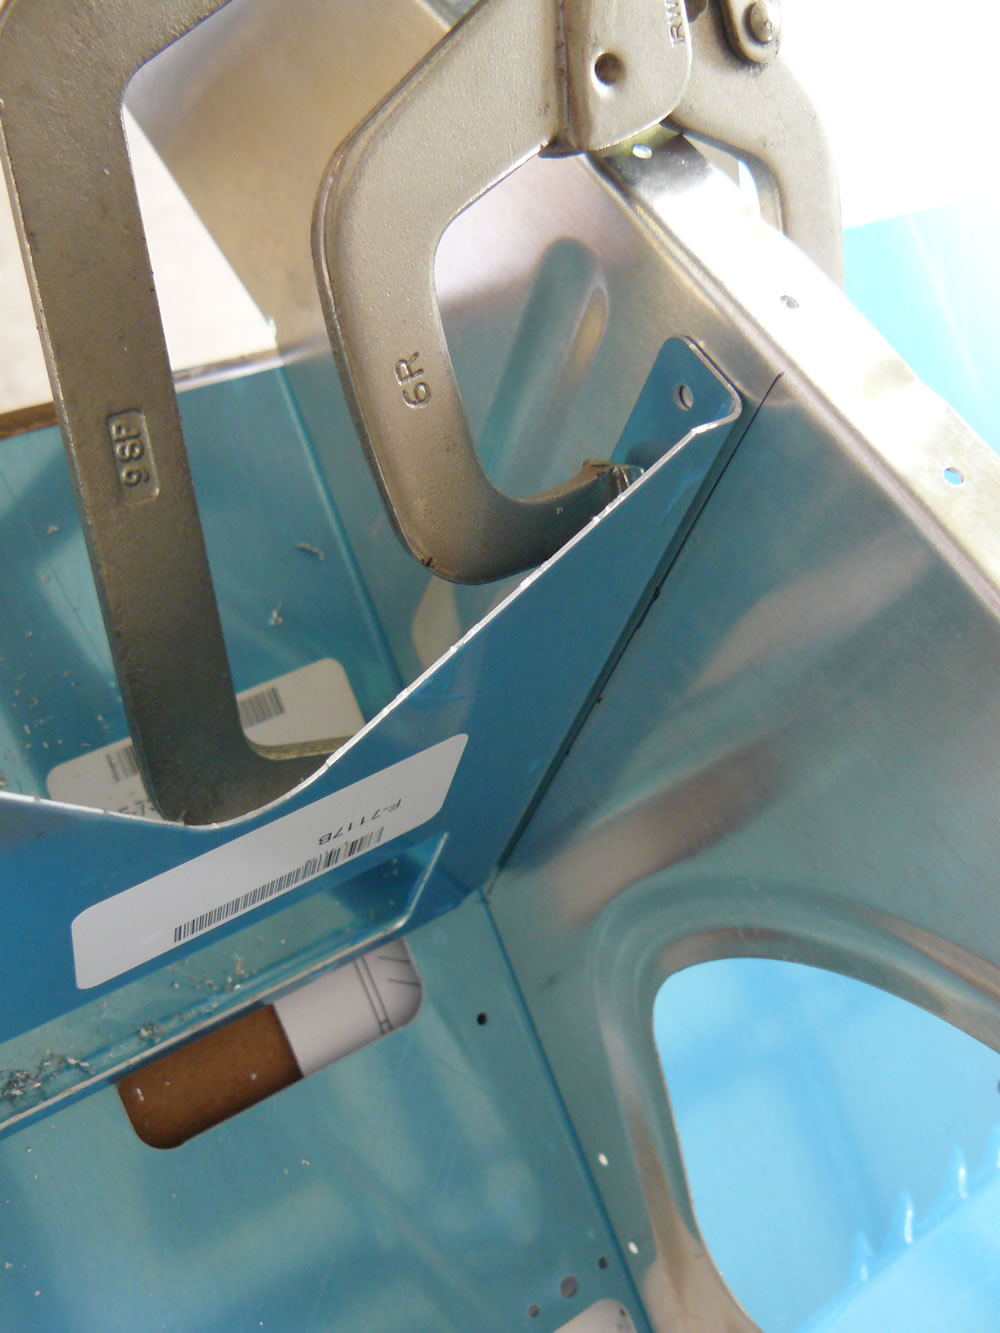
I drilled the holes using my angle drill. Then I aligned the bracket to the other rib, clamped it in place, and drilled it.
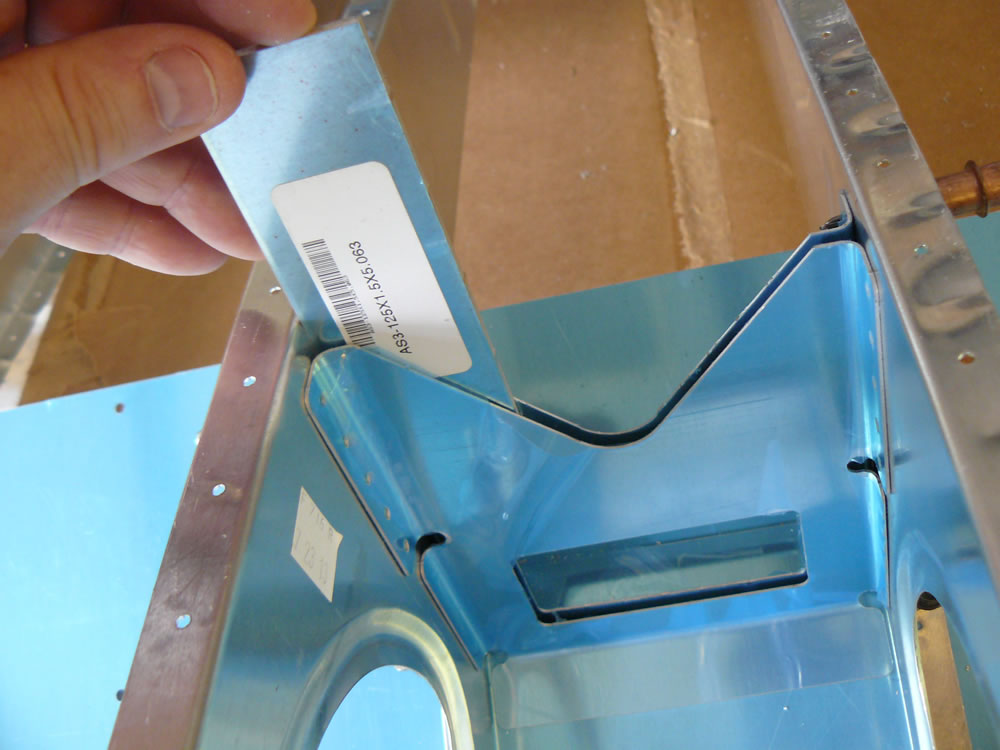
The two brackets are supposed to be 1/8″ apart. Instead of making a spacer, I used an existing 1/8″ piece of material from my shelf of waiting parts.
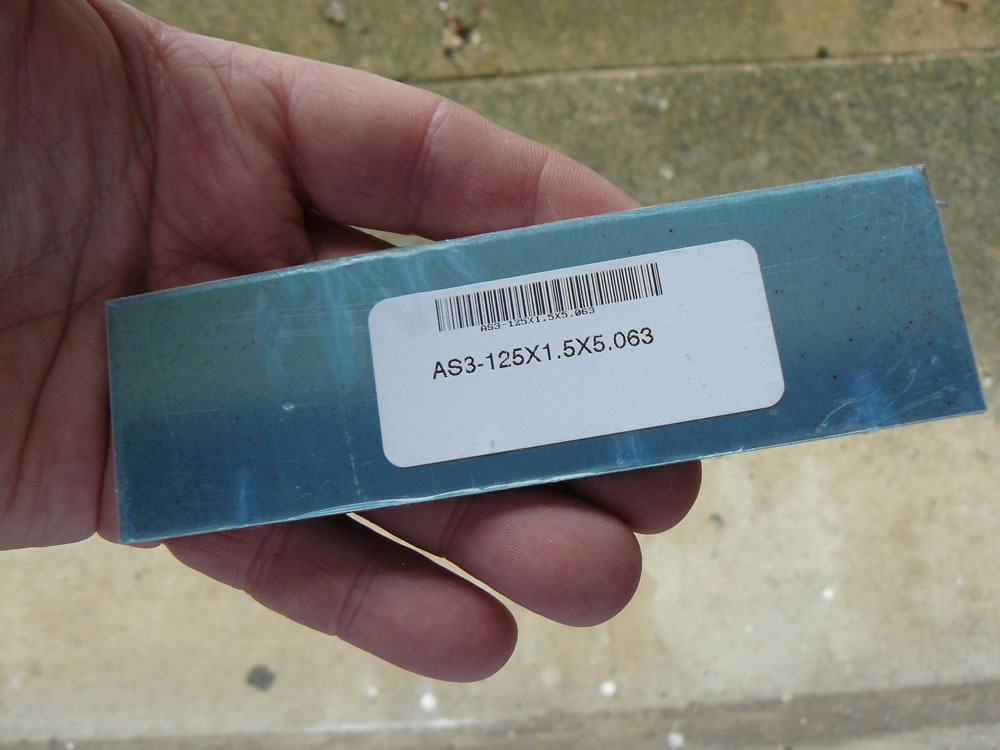
I slid it into place and clamped the second bracket tightly to the first, making sure it was also snug with the underside of the seat pan. I drilled one, side, then moved the spacer to the other side and drilled that.

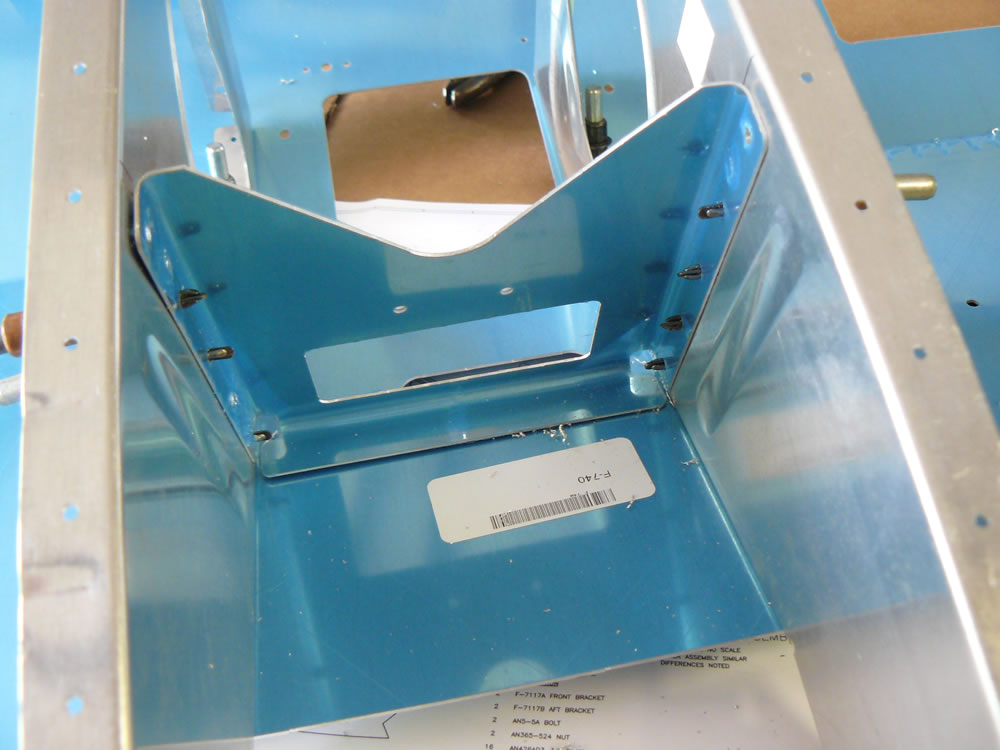
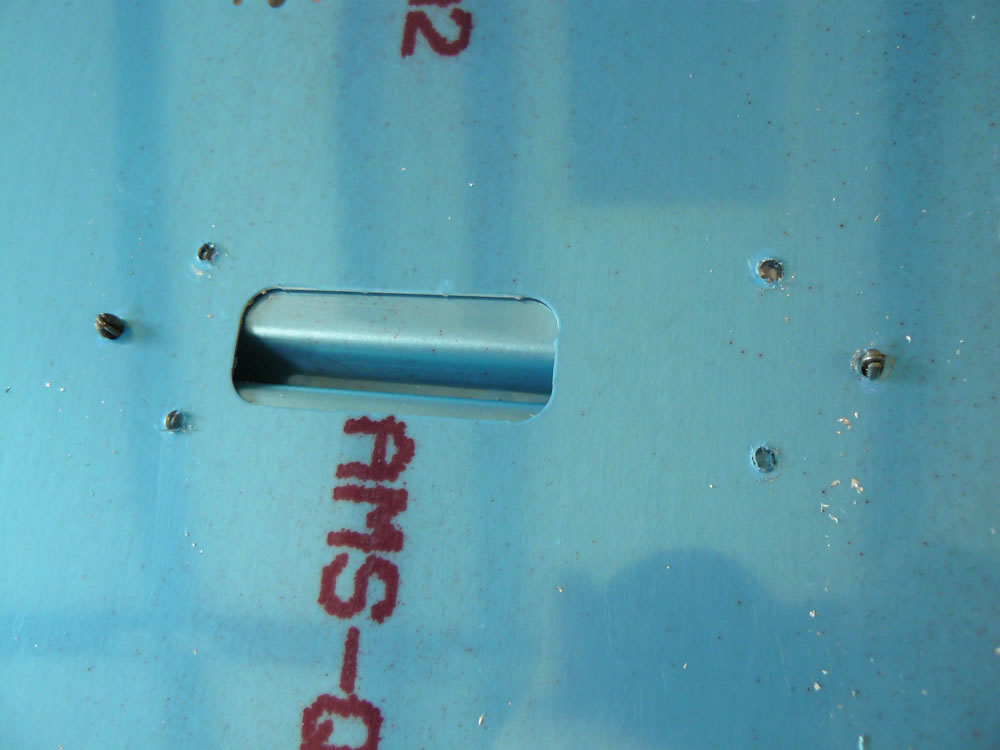
It’s a nice clean assembly when it’s all said and done:

I back-drilled the appropriate hole where the belt actually attaches. The kit contains 5/16″ bolts for seat belt attachment, but I’m going to call the seat belt manufacturer and verify that hole size.
The last step is to drill the holes for the seat pan attach. These will be #8 screws, so I drilled the holes to #19 hole size, then drilled the rivet holes for the nutplates in the brackets.
Once I got one side done, the second set went so much quicker.

Time: 2:20