Replaced Wingtip Lighting

January 23, 2022 – I had always said when I built my wingtip lighting that if I ever had an issue with them, they’d come right out and I’d replace them. After a few hours of flying we noticed noise when the Nav lights were switched on.
I bought a set of AeroLED Pulsars and installed them.
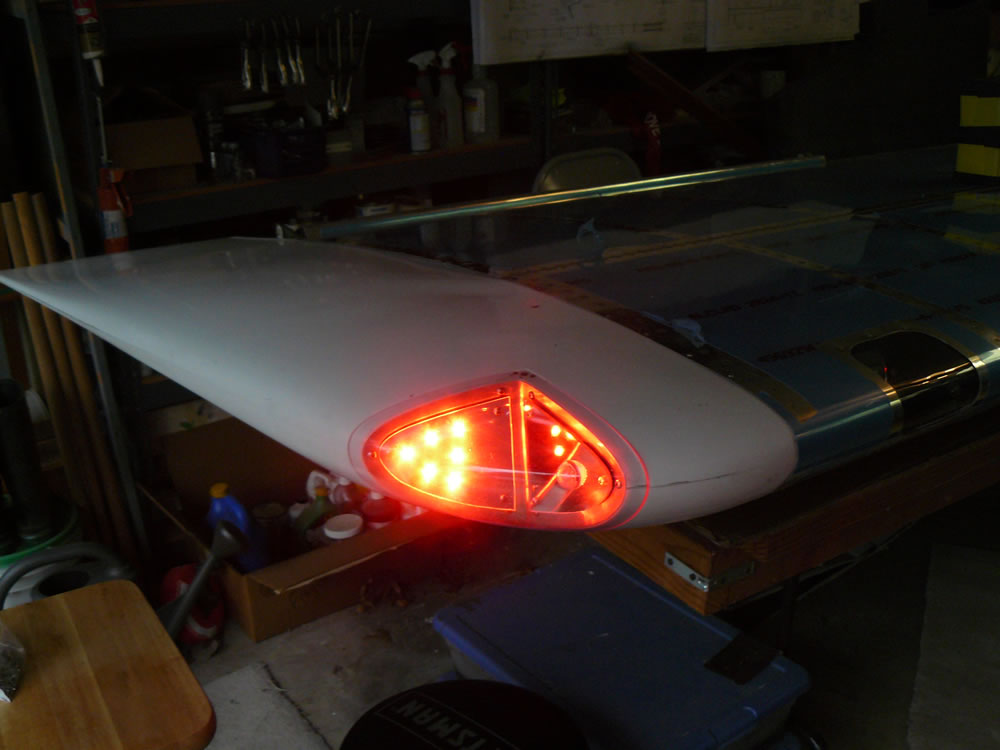
Here’s the original lights:

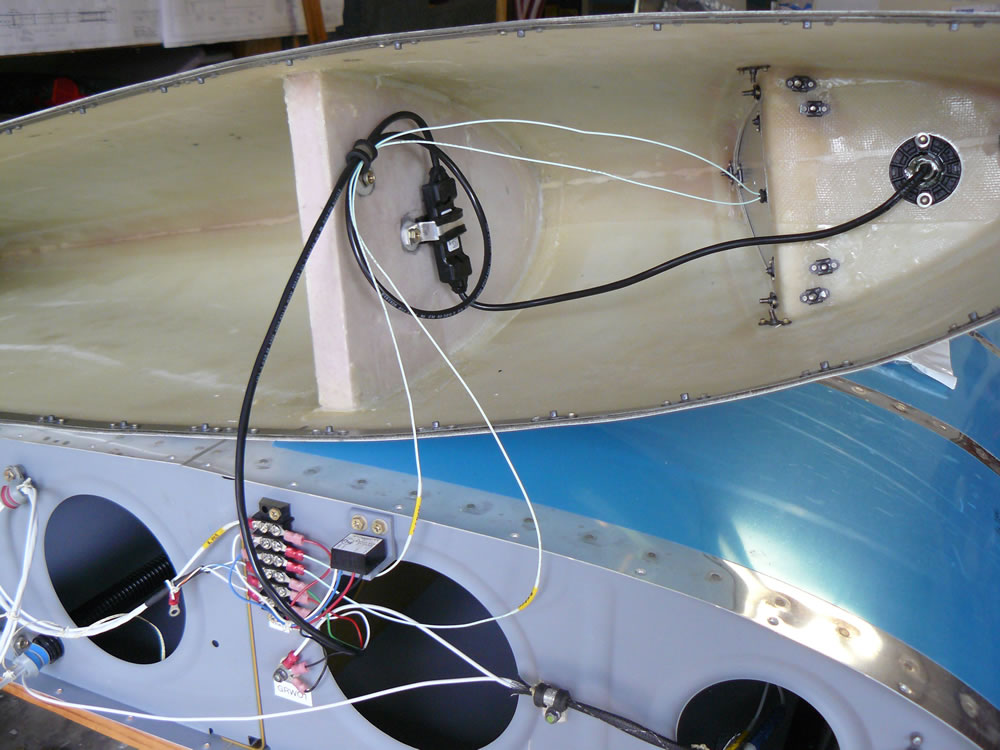
…and my new ones: