Wingtip lighting almost done
March 5, 2013 – I’ve come a long way since my last update.
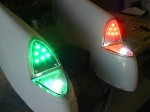
Since I did the green LEDs last time, I got the red ones done:
Here’s a guide to how I wired the LEDs:
I installed the strobes on the wingtip cutout backing plates I made. As I wrote before, I didn’t want to attach the strobes to the wingtip fiberglass.
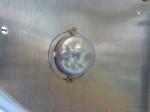
These are the outside and inside views of the strobes. The strobes are Whelen Vertex Hide-a-way Super LED strobes that I got from Strobes N’ More. If they turn out to be not what I need, the cutouts are the standard 1″ hole, so I can drop in a regular strobe if required.
 The next thing I needed to do was to make spacers for the screws for the mirrored plexiglass since it sits on top of the LEDs. I needed 1/4″ OD and ID to fit a #6 screw. I found longer spacers and cut them to fit. Unfortunately, the height I need is only 1/8″, so these were kind of a pain to make. They aren’t pristine parts, so I’ll be replacing them with better spacers at some point. For now, they do the job.
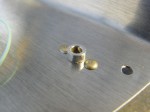
Here you see the spacer between the rivets for a nutplate:
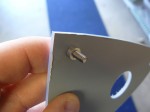
…and placed over a screw for the plexiglass:
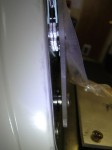
Here are side views of the plexiglass installed with the spacers:
I hooked up both wingtips to power, and…
…everything works!
Not the best quality, but you get the idea…
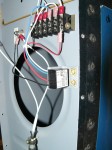
I started installing the wiring on the outboard wing ribs. I made brackets for the LED drivers. I used thermal epoxy to attach the driver pucks to the brackets, then screwed the brackets to the ribs. I plan on using the terminal bars to connect the lighting to the wiring, so I installed terminals on the driver puck wires.
Time: 6:40


