January 14, 2016 – I started the assembly of the aileron trim mechanism.
I’m using manual aileron trim. This is just a setup using springs to help align trim forces directly to the control sticks.
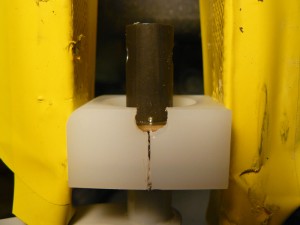
The kit starts with a hard plastic block that needs some small modifications and some holes drilled.
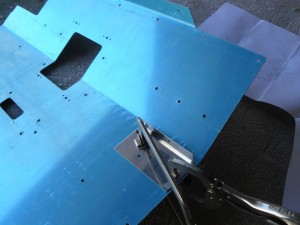
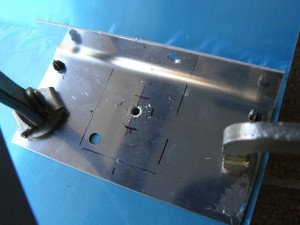
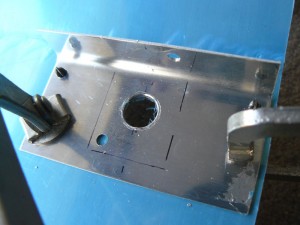
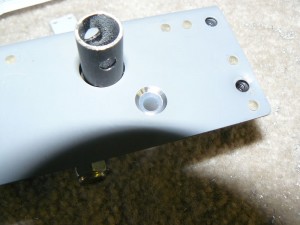
The bracket for the aileron trim mounts between the center two seat ribs, and has a small handle for control. The bracket is drilled to the seat pan, and then installed between the ribs. I drilled the attach holes and the center hole for the handle itself.
If you are reading this and are familiar with this particular installation, you may realize what I did later on, that I put the bracket in the wrong location on the seat pan. Just another of the frustrating moments I’ve had lately…
I drilled and dimpled holes in the seat ribs where the bracket will be installed.
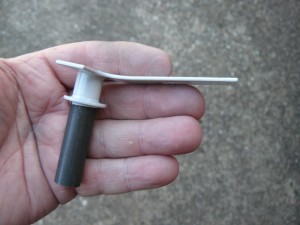
The arm that the springs will attach to needs to be bent approximately 10 degrees down (as installed). I marked the dimension of the bend, and just applied some leverage in the vise. Very easy.
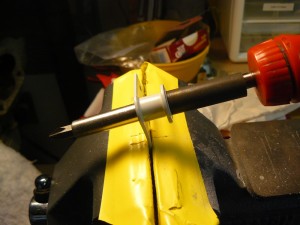
The handle is attached to the spindle with a bolt, and has to be drilled. This was relatively straight-forward as well.
The spindle is assembled to the plastic block, then has to be drilled for a cotter pin.
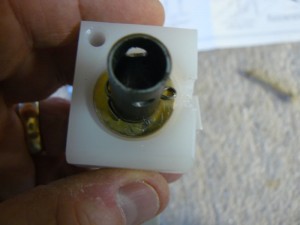
The block is installed into the bracket. There is a flush screw under the handle. You have to countersink both the bracket and the block to accept the screw.
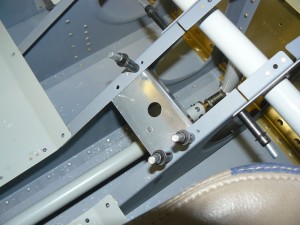
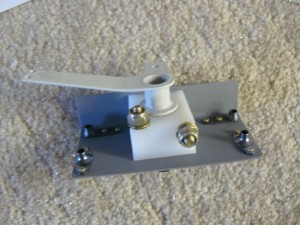
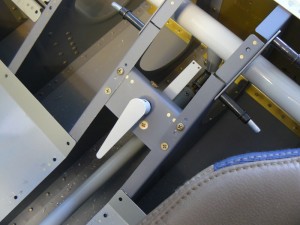
Here’s the completed bracket assembly, and the assembly in place between the seat ribs.
I’m going to wait to install the springs until after things are almost done in that area.
Time: 2:40


