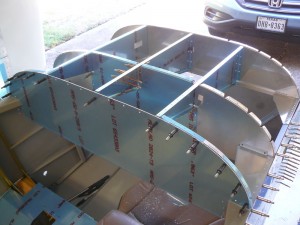
October 27, 2015 – I continued working on the sub-panel structure.
I needed to locate the center rib against the firewall. There are no instructions or guidance to do this, so I went ahead and drilled those holes. I took the top skin back off and slid the center rib out. I drew a centerline and drilled holes in the rib. I clamped it back in position, put the skin back on, and drilled the holes through the firewall from inside and underneath.
Back off with the top skin, I needed to drill the F7108B angle. This is a solid angle that reinforces the center rib. I also drilled a fastener hole where this angle attaches to the firewall.
I clecoed the actual panel into place.
There are some angles that need to be formed to fit the top curve of the panel. I fluted those, clamped them in place, and drilled the attach holes through the panel.
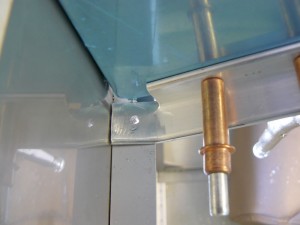
There are also small angles that hold the panel in place on the outboard corners. The problem with drilling these was that the panel moves, so the angles move. I clecoed the top skin entirely in place, all the way down to the edges. This was a lot of work. I drew lines at the panel edge where it sits on the canopy rails. You can just see the lines against the lower surface of the panel in this photo:
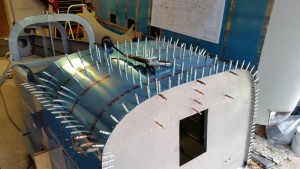
I drilled the entire skin to the structure.
I also drilled the holes in the top flange of the firewall.
Now that I knew where the panel would be, I removed the top skin. I clamped the angle in place using those drawn panel edge marks as a guide, then I drilled through the canopy rails.
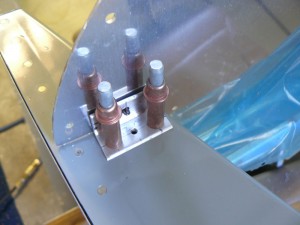
There are smaller angles that support the panel on the inboard side of the canopy rails. I clamped these in place and drilled the holes for those.
I pulled the whole assembly off to the table where I will beburr everything.
Time: 4:40


