Category: Engine Mount

Installed wheels on gear legs

February 8, 2018 – Today I drilled the axles and installed the wheels and tires.

I wanted to install the gear into the airplane one time, after the wheels were completely done. However, I couldn’t hold the gear legs and the wheels adequately where I could torque the wheels and locate and drill the axle holes. So I decided to put the gear in the airplane and do the work that way.

My friend Chris (Sticker) came over to help. First of all, don’t ask why he goes by “Sticker”. I don’t know. Someday I’ll get the story.

Anyway, we hoisted the airplane, still with the intention to install the gear for good, then work the wheels and let it down and be done.

We greased up the gear legs, and had a really hard time getting them all the way up and into position where the bolt holes line up. The right gear is about 1/4 hole off, and we could never get it all the way into position. So we threw some temporary bolts into the holes, and decided that we would put the airplane on a sawhorse, and I would do the wheels.

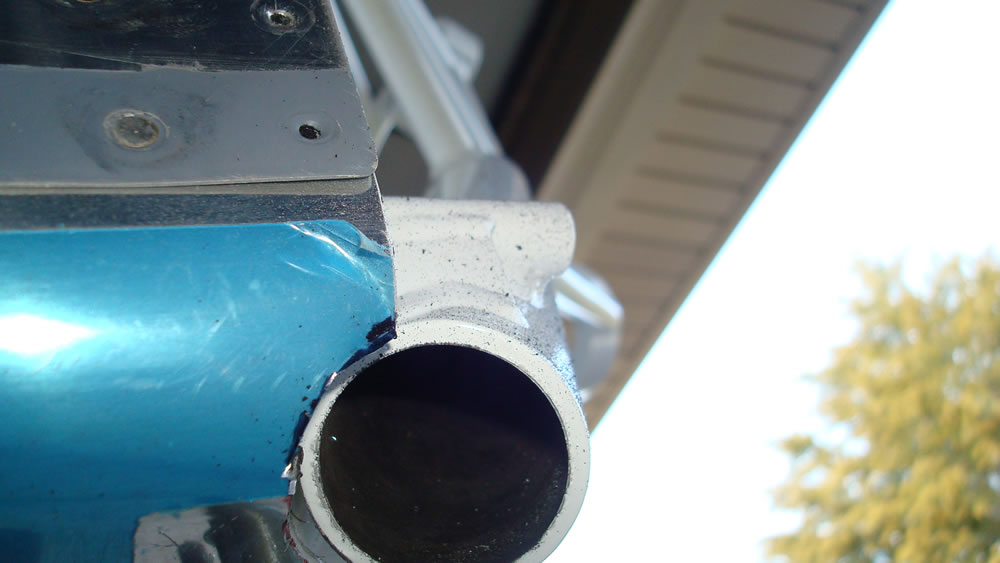
I torqued the axle nut (as best I could); there is no firm data on torque published. I started the holes with a short #30 bit in an angle drill, then drilled with a #40, then a #30.

I deburred it all, then reinstalled the wheels.

We’re going to remove the gear legs, clean everything up, chamfer edges, then try to install the gear legs for good.

Time: 3:00

Closed firewall and installed engine mount

February 2, 2018 – I found somebody available to help me rivet the firewall recess.

Before I installed the recess, I had to finish installing the rudder pedal center bracket.

I also had to install the two nutplates in the recess where the cockpit heat box attaches.

One of my EAA 168 buddies came over and we riveted the firewall recess.

I applied firewall sealant and clecoed the recess in place.

We got the recess installed, then decided to go ahead and install the engine mount. Jim shot the recess rivets outside, so he wanted to crawl in and do the bolts for the mount.

Time: 1:30

Trimmed firewall for gear legs

January 22, 2018 – One of the steps I accidentally left out of the previous post was trimming to clear the gear legs.

Because the gear legs attach to the engine mount, the firewall interferes with the legs at the lower outboard corners.

I marked the cut line as best I could, and started trimming with a rotary file, then a sanding disc. Looks good now; I may need to make final adjustments when the gear legs are installed.

Time: 1:00

Started drilling for engine mount

January 4, 2017 – Today I drilled two of the six holes in the firewall for the engine mount.

First things first, I had to rivet a stand-off on the bracket for the rudder pedals that secures the brake lines from one side to the other. This is my preference over running the brake lines through the bracket like normal. That option does not seem maintainable without breaking the brake system open.

I believe everything that needs to be placed on the firewall before the engine mount is done. I have to install the firewall recess, but I could get these holes drilled and cleaned up before I do that.

I struggled on a cold day with how to secure the mount to the firewall by myself. On that same cold day I gave up. Yesterday it was a little warmer, so I attacked it again. I used vinyl tape and clamped a 2×4 to hold the mount more or less in place. Seemed to work reasonably well.

I actually got the four corner pilot holes centered with this setup, so I started on the upper right hole.

You can just make out the pilot hole through the mount:

I started with a drill bushing in the mount, and drilled the pilot hole all the way through with a long #11. You can see that the dimensions for the bushing are perfect: .373″ OD and .191″ ID.

Here’s the #11 hole with a light behind it:

I then used core drills and BoeLube to step up to the final: .191″-248″, then .250″ -.312″ and then finished with .325″ – .375″.

Got the top two holes drilled, and the bolts slid right in:

Time: 1:05